Step-By-Step Guide To Setting Up And Troubleshooting Your Wireless Repeater
When you purchase through links on our site, we may earn a commission. Here’s how it works.

A wireless repeater (or WiFi repeater) can help extend the range of your wireless network. Typically, if you’re in a large house or office complex, you can use wireless repeaters to extend the reach of your wireless signal without buying expensive new routers. Follow this guide on how to setup and troubleshoot your wireless repeater.
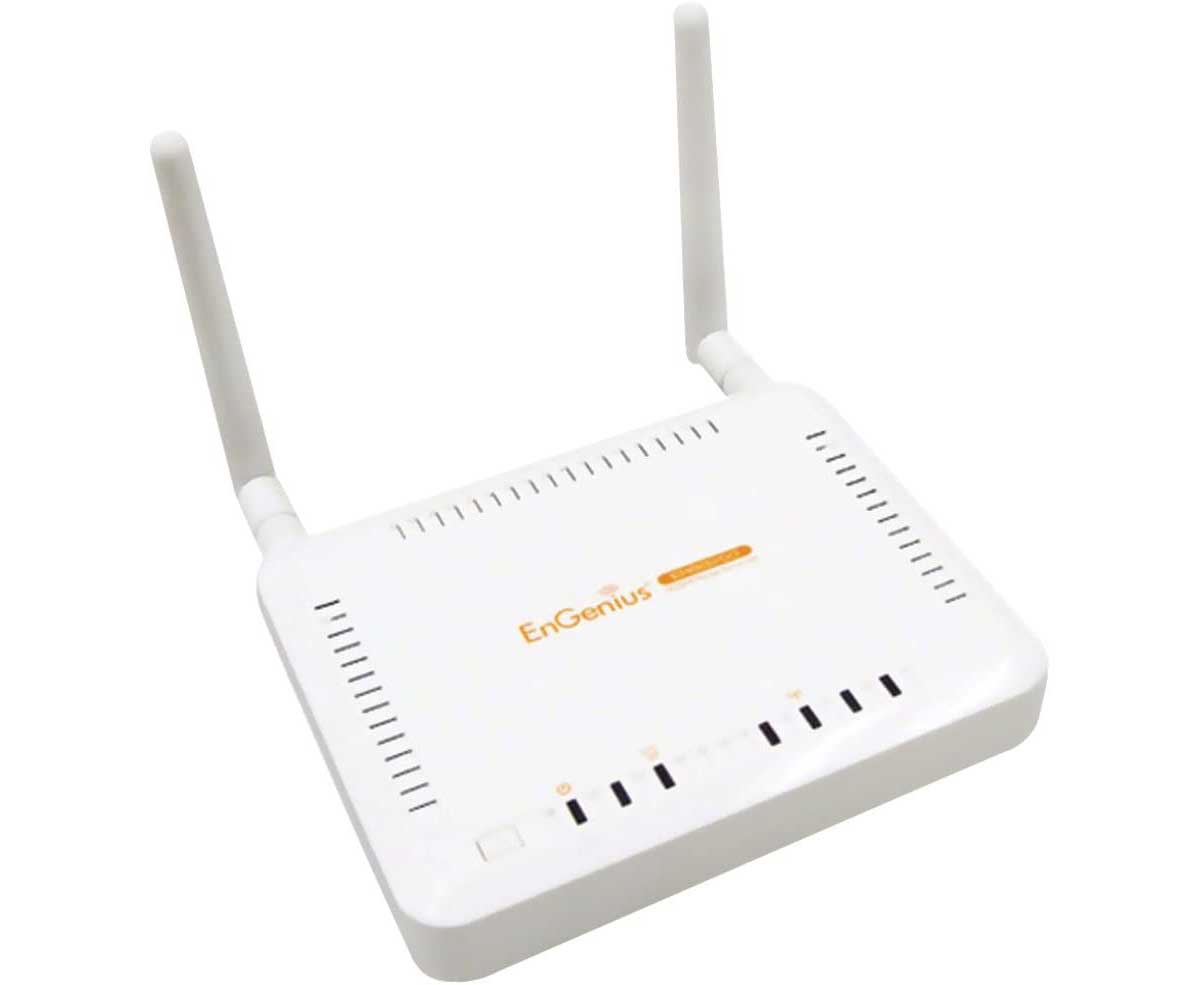
In this particular example, we will be using the Engenius ERB9250.
Wait…Before You Begin
Would you prefer to have an expert help you out? We review Best Buy’s GeekSquad. Or better yet, don’t tear your hair out! Just get a replacement. Technological advancements have gone up, and costs have come down. Our experts review the best WiFi routers and extenders, including the new mesh systems.
What Is A WiFi Repeater?
A WiFi Repeater, or wireless repeater, helps extend your wireless network signal by “repeating” it. Basically it adds a node to your network that will receive and amplify the signal further. There are various models and manufacturers of WiFi repeaters, so in addition to finding a reliable device, the key to maxing out your wireless signal is learning to setup the repeater correctly. We help you do that and answer any questions you might have.

Setting Up Your Wireless Repeater
Regardless of what the setup instructions say, the WPS “easy setup” mode is not easy. In fact, with most modern routers and network configurations, WPS is more of a pain than anything. So we’ll be skipping straight to manual setup and showing you how to set up your repeater.
Step-By-Step Instructions On Getting Your Repeater Up And Running
- First, plug your repeater into the wall next to your PC with the supplied power cord, and connect the repeater to your PC’s Internet/LAN input (a broadband “phone jack” type plug that is wider than your phone plug connector”).
- In Windows 7 (the steps are similar for other operating systems. If you get stuck, please comment below and we’ll provide detailed instructions), type “Network and Sharing Center” into your Start Menu search box, and hit enter.
- If your wireless repeater is recognized by your PC, you should see it as a wired network (i.e. “Local Area Connection”) under “View your active networks.”
- Left-click the connection, and select “Properties.”
- Select “Internet Protocol Version 4 (TCP/IPv4)” (select TCP/IP Protocol is there is only one version) and click on “Properties.”
- Change “Obtain an IP address automatically” to “Use the following IP address.” Then enter:
- IP Address: 192.168.1.100
- Subnet Mask: 255.255.255.0
- Default gateway: 192.168.1.2 (substitute with the IP address of your wireless repeater – should be specified in the documentation)
- Leave DNS settings as is and save.
- Browse to the IP address of your repeater in a browser window (i.e. //192.168.1.2).
- Enter your wireless repeater user ID and password (usually admin/admin by default – you’ll want to change these once in).
- Browse to Basic > Wireless
- Enter the SSID that matches the name of your wireless network (we initially tried giving the repeater a unique name but couldn’t get it to connect). Select your network band (we recommend 2.4 GHz (B+G+N), where N allows speeds up to 300mbps or faster. Note that the Engenius ERB9250 we use in our example is not compatible with the newer 5 GHz band, available on dual-band routers.
- Click on “Site Survey.”
- Find the SSID of your wireless network and select “Connect.”
- You should see a message that you connected successfully. If not, see the troubleshooting section below.
- You can now move your wireless repeater to a location halfway between your router and your PC.
- Disconnect and re-connect to your wireless connection on your PC. You should notice a marked increase in connection speed.
Make Sure You’re Getting At Least 300N Speeds
To ensure that your repeater is connecting at the fastest possible speed (above 1GB on new fiber connections, but with today’s technology requirements you should shoot for at least 300 Mbps), we recommend you connect to your repeater by typing “//192.168.1.2” into your web browser’s address bar and browsing to Wireless > Status.
Make sure the “Data Rate” under “WLAN Repeater Information” is 300 Mbps or greater. Next, right-click your wireless network (bottom right corner of your Windows desktop), select “Status,” and under “Connection” verify that you’re connected at a speed at or near 300 Mbps (your actual speed will typically be 50 Mbps lower than your advertised speed, but you shouldn’t have a loss of more than 100 Mbps).
If the “Data Rate” is showing as 54 Mbps or lower, browse to Wireless > Basic, click on “Site Survey” and try re-connecting to your network until it connects at the highest speed.
Some useful tips if you can’t get this to work: try WPA2 (AES) instead of WPA (TKIP). Try disconnecting from your network entirely, then logging back on and repeating the steps above. If you still can’t connect at the highest speed, please comment below with details and we’ll try and troubleshoot your specific issue.
Troubleshooting Your Wireless Repeater
If you’re having trouble connecting in step 13) above, try naming the wireless repeater SSID to be the same name as your wireless network. If you’re experiencing any other problems, please comment below!
Frequently Asked Questions
Here’s the answers to some questions we’ve gotten on more than one occasion from our readers. Feel free to ask your own in the comments.
What’s The Difference Between A Dual-Band And Tri-Band Router?
Tri brand refers to a router that takes advantage of two 5 GHz bands and one 2.4 GHz band. A single-band router only connects on the 2.4 GHz band, while a dual-band router connects on both 2.4 GHz and 5 GHz.
What Band Do Mesh Systems Operate On?
The new mesh WiFi systems we describe below are able to use both bands simultaneously to optimize the signal for any particular device. The drawback to mesh systems is that you’re unable to target one band or the other. This could be problematic for older devices that are only able to connect to the 2.4 GHz band.
Do Mesh Systems Make Repeaters Obsolete?
New mesh WiFi systems are able to maximize wireless throughput across large areas using nodes that maintain your max speed without degradation as you might experience with a repeater. Our experts dive into this relatively new technology and bring you the best mesh WiFi routers on the market today.


