When you purchase through links on our site, we may earn a commission. Here’s how it works.
Installing a Ring doorbell isn’t as intimidating as it sounds. Whether you already own one or are considering getting one, I hope my firsthand experience (with the Ring Doorbell 2 in this case, but the setup is more or less the same with other versions) simplifies the installation for you.
Note: Having an existing doorbell (or wires) is not required to use Ring’s doorbell.
Getting Started
The Ring Doorbell has the option to use existing wiring or a rechargeable battery for installation setup. There is also a quick-release rechargeable battery pack. With the Ring Doorbell Pro, existing doorbell wiring is required, and there is no rechargeable battery option.
A typical installation takes about 5 minutes for the Ring Doorbell, while the Ring Doorbell Pro takes a little longer, at 15 minutes. But overall, the installation is fairly simple for all three of the doorbells, with the Pro being a little more intensive. There is no need to hire a professional to install any of these doorbells, and Ring sends thorough instructions to help you with the installation.
Installing a Ring doorbell isn’t as intimidating as it sounds. Whether you already own one or are considering getting one, I hope my firsthand experience (with the Ring Doorbell 2 in this case, but the setup is more or less the same with other versions) simplifies the installation for you.
Note: Having an existing doorbell (or wires) is not required to use Ring’s doorbell.
If you need to purchase your Ring doorbell first (or want to peruse the latest models), check out our Ring doorbell review. We compare the different Ring doorbells, so you can decide which best fits your needs and budget.
Charge The Battery
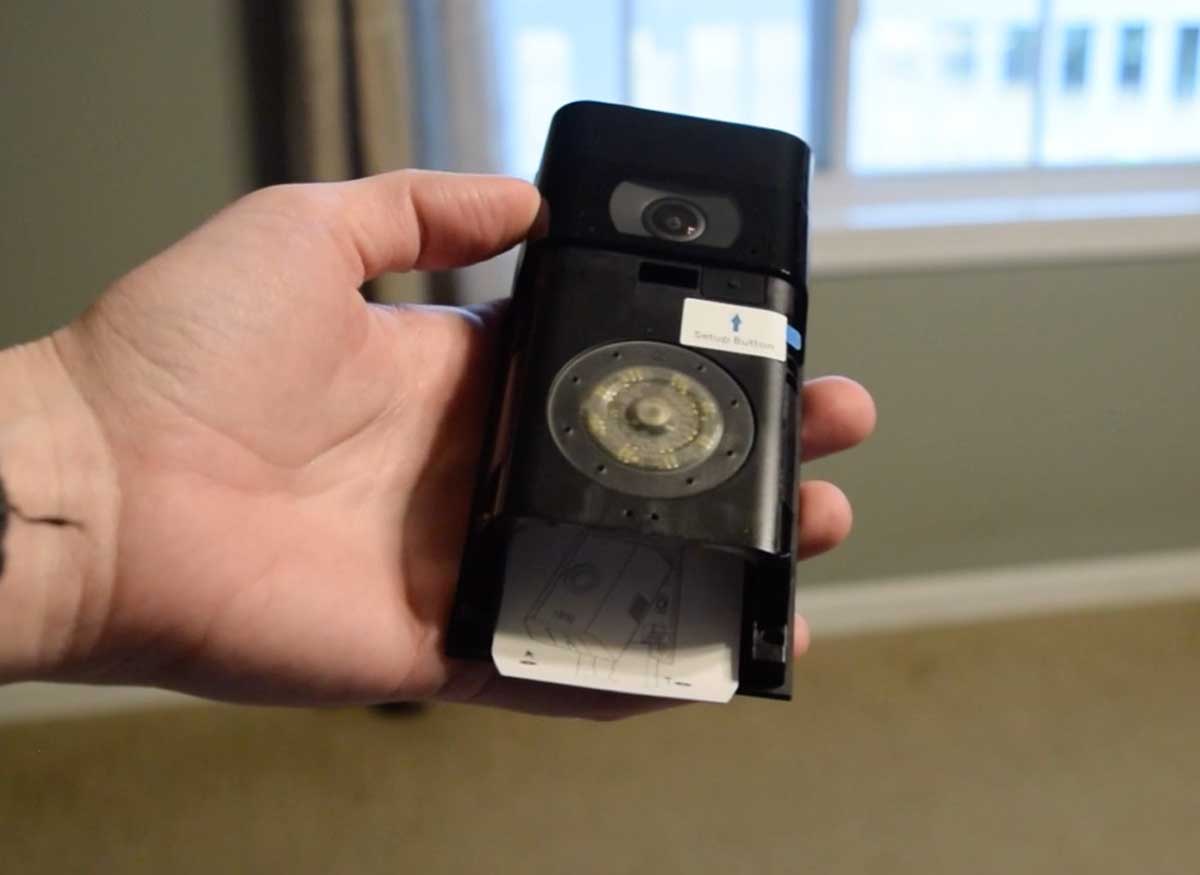
The first thing you’ll want to do is remove the rechargeable battery from the Ring doorbell and plug it into a power source using the orange cable provided. The small light on top glows green once it’s fully charged. Insert the battery back into the doorbell after it’s charged; you’ll hear it click into place.
Set Up The Ring App
Download the Ring app (which we review here). Once you launch the app, it will walk you through the setup process, which we go into more detail about below.
- Select Set Up A Device
- Select device name
- Follow the in-app instructions
Required Tools and Materials
What will you need to set up your Ring doorbell? Here’s a list of what’s included, as well as what you’ll need to supply yourself.
What Comes In The Box
- Screwdriver & screws
- Charging cable (optional for some models)
- Installation manual
- Mounting bracket (optional for some models)
Recommended Tools To Have On Hand
In addition to the supplied materials we list above, we recommend you have on hand before you begin installation the following tools:
- Hammer drill (if you decide to mount your doorbell in brick or stucco)
- Masonry drill bit (if you are drilling into hard materials like brick or stucco). This is included with the Ring Video Doorbell 2 and the Ring Video Doorbell Pro
- Box Cutter
- Flathead screwdriver (for removing your old doorbell)
Do I Need An Angled Bracket?
Included with your doorbell are two bracket options: a wedge mount and a center mount. Ring’s brackets are optional and can be painted to match your home.
The wedge mount helps angle your doorbell down to get the correct motion detection range. If you have stairs leading up to your front door or you’re replacing an existing doorbell that isn’t around four feet off the ground, you may need to utilize the wedge mount.
You should use the corner mount if you need to angle Ring more toward your walkway.
You can use both the wedge and center mounts if need be; just be sure to install the wedge on top of the corner mount. Use the short screws included to attach the angled bracket(s) to your Ring Doorbell.
Remove Your Existing Doorbell
If you don’t have an existing doorbell, skip to the next section.
If you do have an existing doorbell, make sure to shut the doorbell’s power off at your circuit breaker prior to installing it. Remove the existing doorbell from the wall and disconnect the wires.
Installing The Ring Doorbell
Replace Your Existing Doorbell
- If you are installing the Ring Video Doorbell 1st generation, then you’ll need to install a diode first (included in the box). More recent versions of the Ring Video Doorbell do not require a diode, so you won’t find one in the box. Mechanical doorbells should not have the diode installed as it can damage the doorbell. This article on Ring.com has more information, including images to confirm which doorbell you have in case you are in doubt.
- Insert the included mini-level into your Ring Doorbell.
- If installing the doorbell on stucco, brick, or concrete, mark four drill holes. Use the bit provided to drill holes into your wall and insert the anchors. Anchors aren’t needed if you’re installing into wood.
- Connect the wires coming out of your wall to the screws on the back of your Ring Doorbell; the order doesn’t matter.
- If the wires are too short, attach the provided wire extensions and wire nuts.
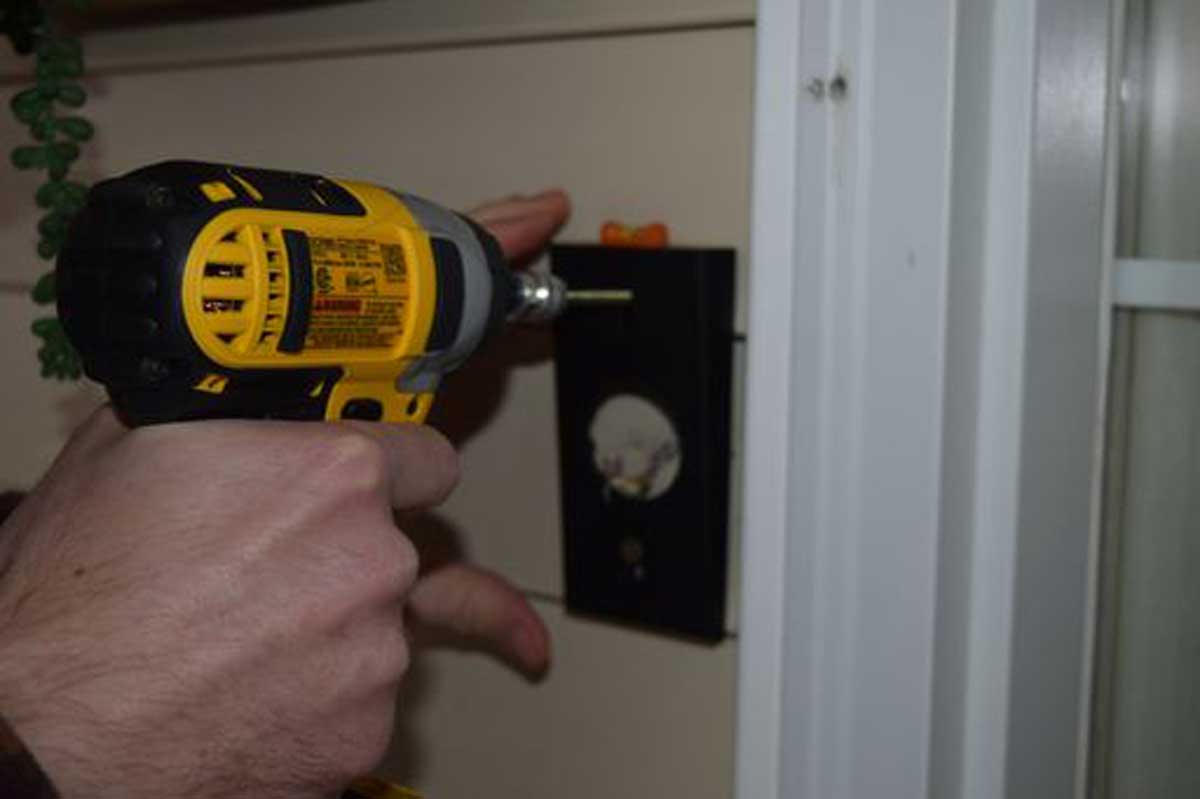
- Feed the wires (and wire nuts, if you used them) into your wall and screw your Ring Doorbell onto the wall using four screws.
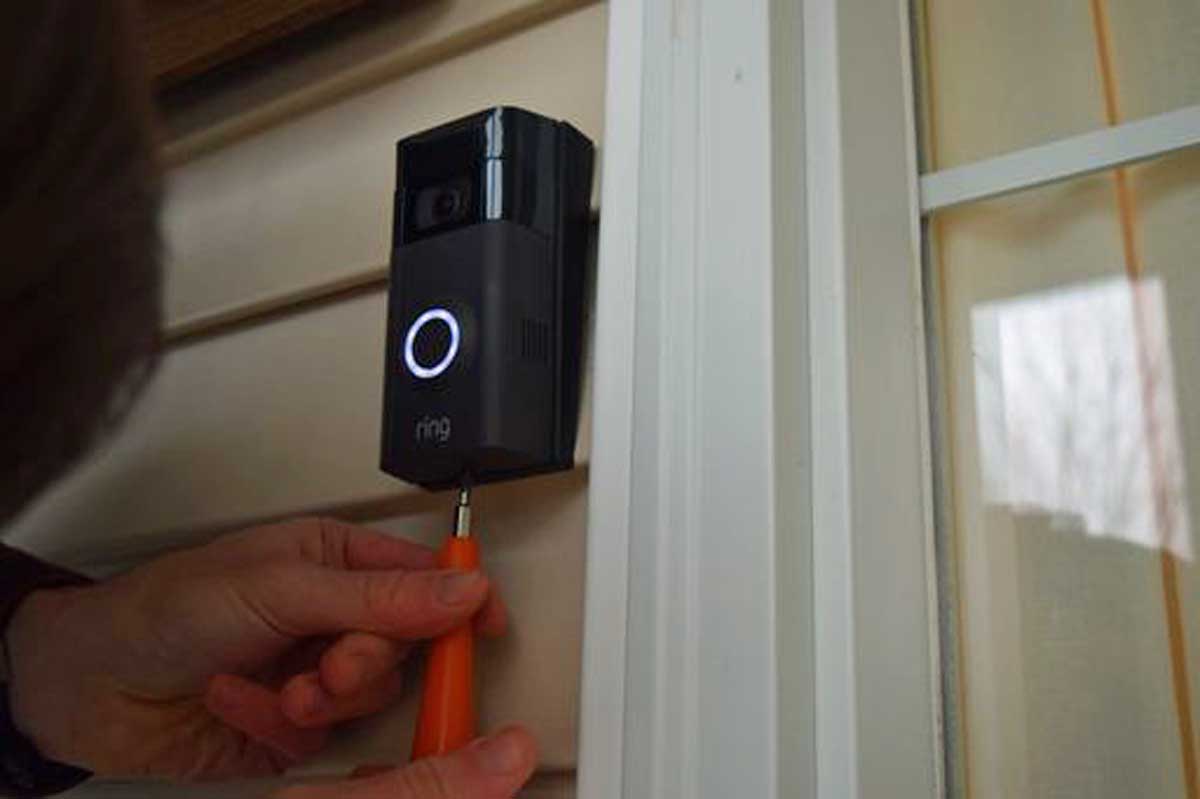
- Attach the faceplate of your choosing; you’ll hear it click into place.
- Secure the faceplate by screwing in one of the security screws with the star-shaped end of the screwdriver.
If You Don’t Have An Existing Doorbell
If you don’t have an existing doorbell, it’s even easier.
- Charge the battery and click it into the doorbell base.
- Position the level into the small hole on the front of the Ring doorbell.
- Place the Ring doorbell next to your door about chest height.
- Ensure the Ring doorbell is level and mark the positions for mounting holes with a pencil.
- Use the anchors if needed and screw the doorbell into the wall.
- Remove the level from your doorbell and attach the faceplate.
- Screw in one of the security screws, and you’re all set.
Ring Doorbell Installation FAQs
Here are our responses to questions we get asked frequently by our readers.
Ring In Action (Installation Video)
Want to see the Ring doorbell in action? Check out this installation video I made to see how the doorbell works along with the rest of the Ring alarm system.
Personal Experience With Ring Doorbell Installation
Here’s my experience installing the Ring Doorbell.
I was a little wary with how the installation would go for my doorbell. Using a power drill on the exterior of my home was a little concerning for me because I didn’t want to mess up the siding or drill the holes incorrectly. However, my husband took one look at the instructions and had it done within 20 minutes. While it didn’t take the 5 minutes Ring states it takes, it was still a fairly quick installation.
Kimberly A.
See the video below of how simple it can be to install (even the Ring Doorbell Pro).
Selecting The Right Ring Doorbell For Your Home
Can’t decide which Ring Doorbell model or features to get? Our experts compare Ring Doorbell options in our review and pit the different models (Ring, Ring 2, Ring 3, etc., and Ring Pro) against each other in our comparison.